Blog
Book
FAQ
Contact
Submit
About
By Kara
Kids Parties
Baby Showers
Bridal & Wedding
Hosting
Holidays
Occasions
Recipes
Free Printables
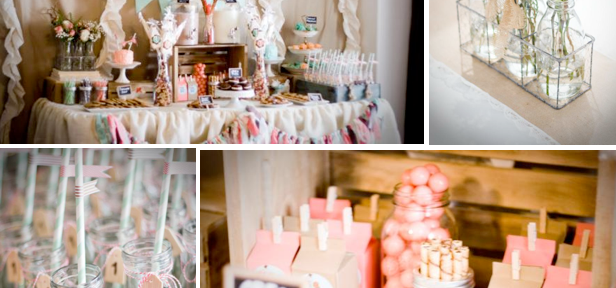
Milk & Cookies 2nd Birthday Party
March 11, 2013
1 Comments
Cookies and Milk 1st Birthday Party for Twins
November 17, 2012
8 Comments
Milk and Cookies 2nd Birthday Party
June 18, 2012
19 Comments
Load More
By Kara
Kids Parties
Baby Showers
Bridal & Wedding
Hosting
Holidays
Occasions
Recipes
By Kara
Kids Parties
Baby Showers
Bridal & Wedding
Hosting
Holidays
Occasions
Recipes
Search